Linux To Linux VNC Connections With Remmina And x11vnc
Ten years ago I used VNC a lot more than I do now and though the protocol itself has changed very little Linux desktops have grown in size, innovation, and complexity since then. The development of systemd and wayland have added problems along the way for VNC and x11forwarding in general and put some users off it, but like always I have continued on with testing it now and then, and in this discussion I can report that both Remmina and x11vnc have survived the era and continue to function well in Debian and Ubuntu. In my opinion x11vnc remains the most adaptable and configurable and bandwidth conservative of the VNC servers out there, operating well on older hardware with 4G of RAM. Remmina has evolved and rolled with the changes admirably and continues to be the best client for remote connections offering plugins for RDP, VNC, and SPICE. For a while when connecting I had to use Xephyr (xorg server) on my Debian wayland desktop or log out of wayland and log back in to X11 to connect to x11vnc and display my remote system, or x11 forwarded applications, but that is no longer the case. I’m going to discuss here a quick and easy method for setting up x11vnc on Linux Lite 6 and Remmina on Debian 11 using SSH and an SSH tunnel in order to securely access my Linux Lite 6 desktop remotely, as always keeping it simple for new Linux Lite users. This method will work for most Debian and Ubuntu and most of their derivatives.
1) Setup x11vnc In Linux Lite 6
Linux Lite Help Manual: VNC Connections
You can follow the Linux Lite help manual here, but unless you are using wake-on-LAN with auto-login on a system without a running SSH server (which is unlikely) there is no advantage to adding another systemd service with xllvnc set to run in -forever mode. It can be easily and securely controlled with SSH connections. Better to run an SSH server with systemd from which you can start and stop x11vnc. The method that follows here is convenient and secured with SSH connections and can be hardened with keys. I don’t see any real reason to start the x11vnc server with systemd in Debian or Ubuntu as it only adds RAM sucking background services and adds to boot time if called at login, and I doubt anyone who uses wake-on-LAN and auto-login does so in the first place without running an SSH server on the system. Modern virtualization software, cloud and container systems, and https run time browser system virtualization, are replacing the need for simple VNC in my opinion. Anyway, for this method you will need an SSH server and the x11vnc server installed to your Linux Lite system. You can install them both from synaptic package manager.
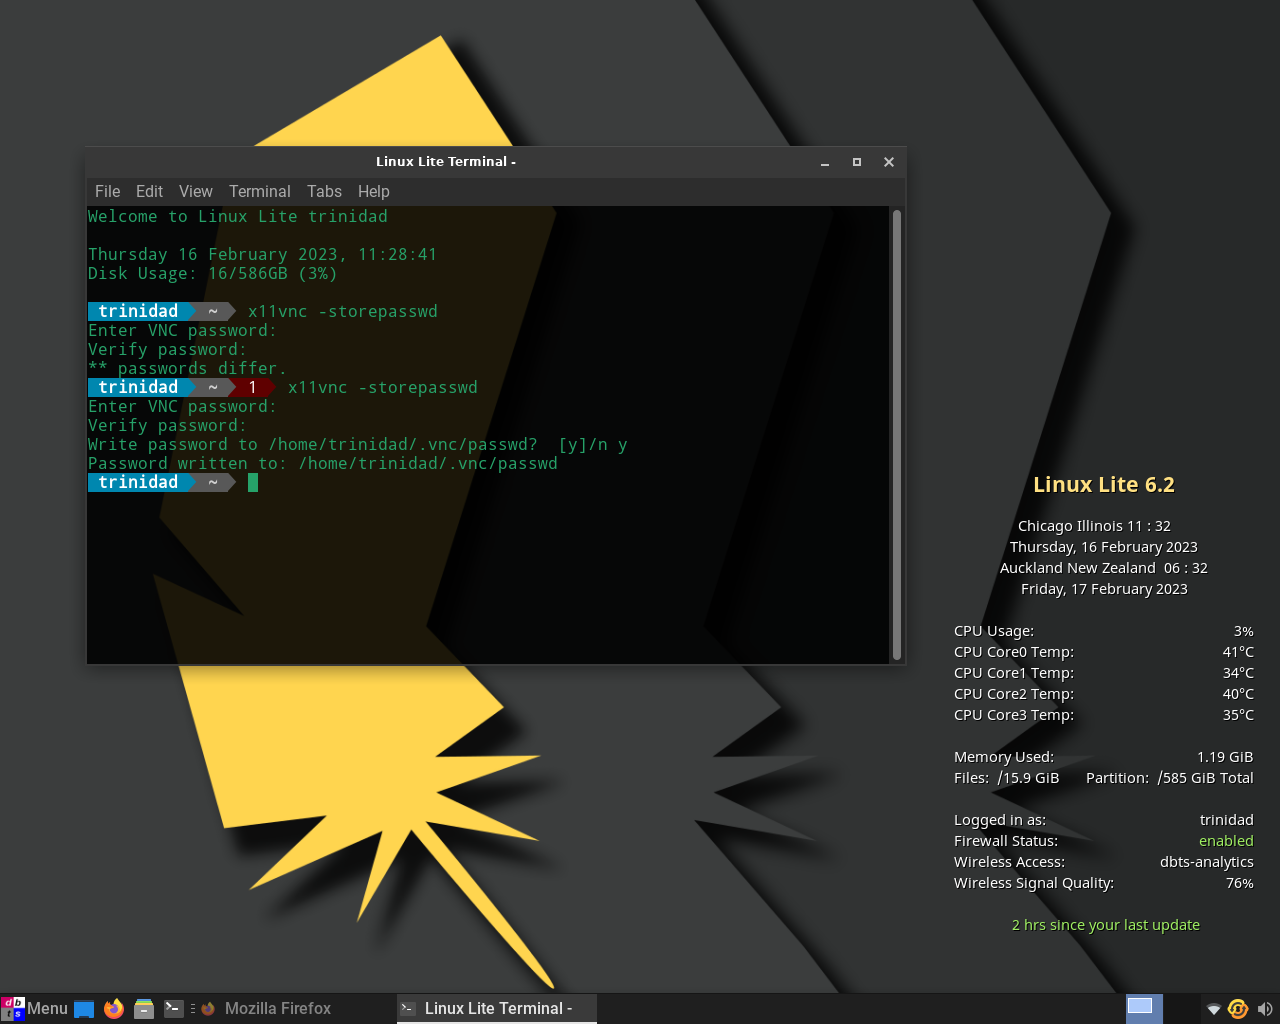
Once installation is complete open the Linux Lite terminal and enter the command x11vnc -storepasswd and enter and confirm a new vnc password for your server and allow it to be written to a .vnc folder in your home directory. This is convenient because if you forget your password you can just delete the directory and rerun the command to create a new one. See the image below.
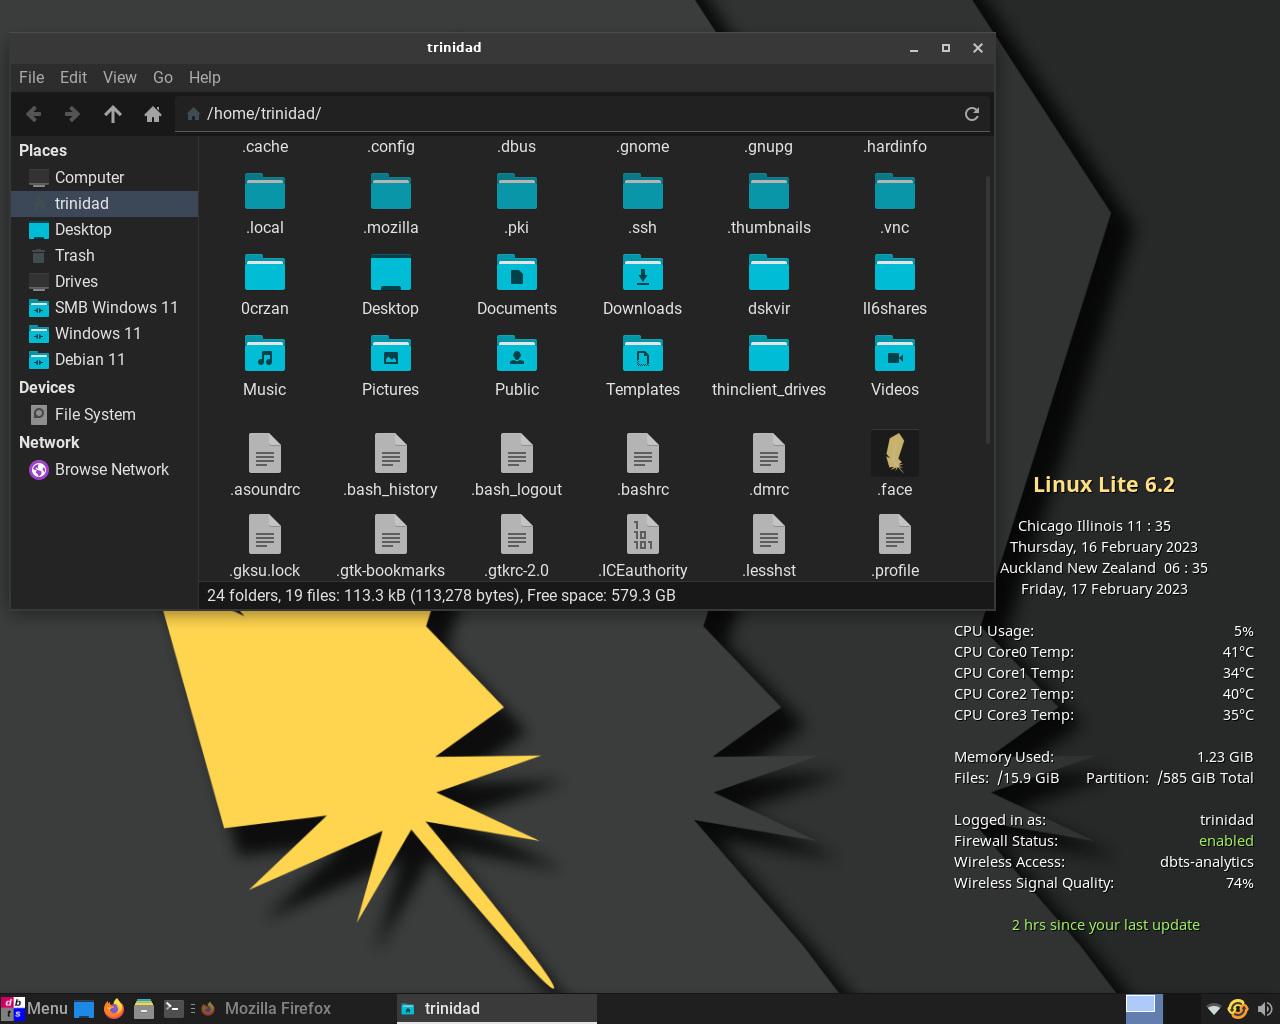
Next create a new folder in your home directory to hold a startup script for your x11vnc server. As shown in the image below in this case called dskvir.
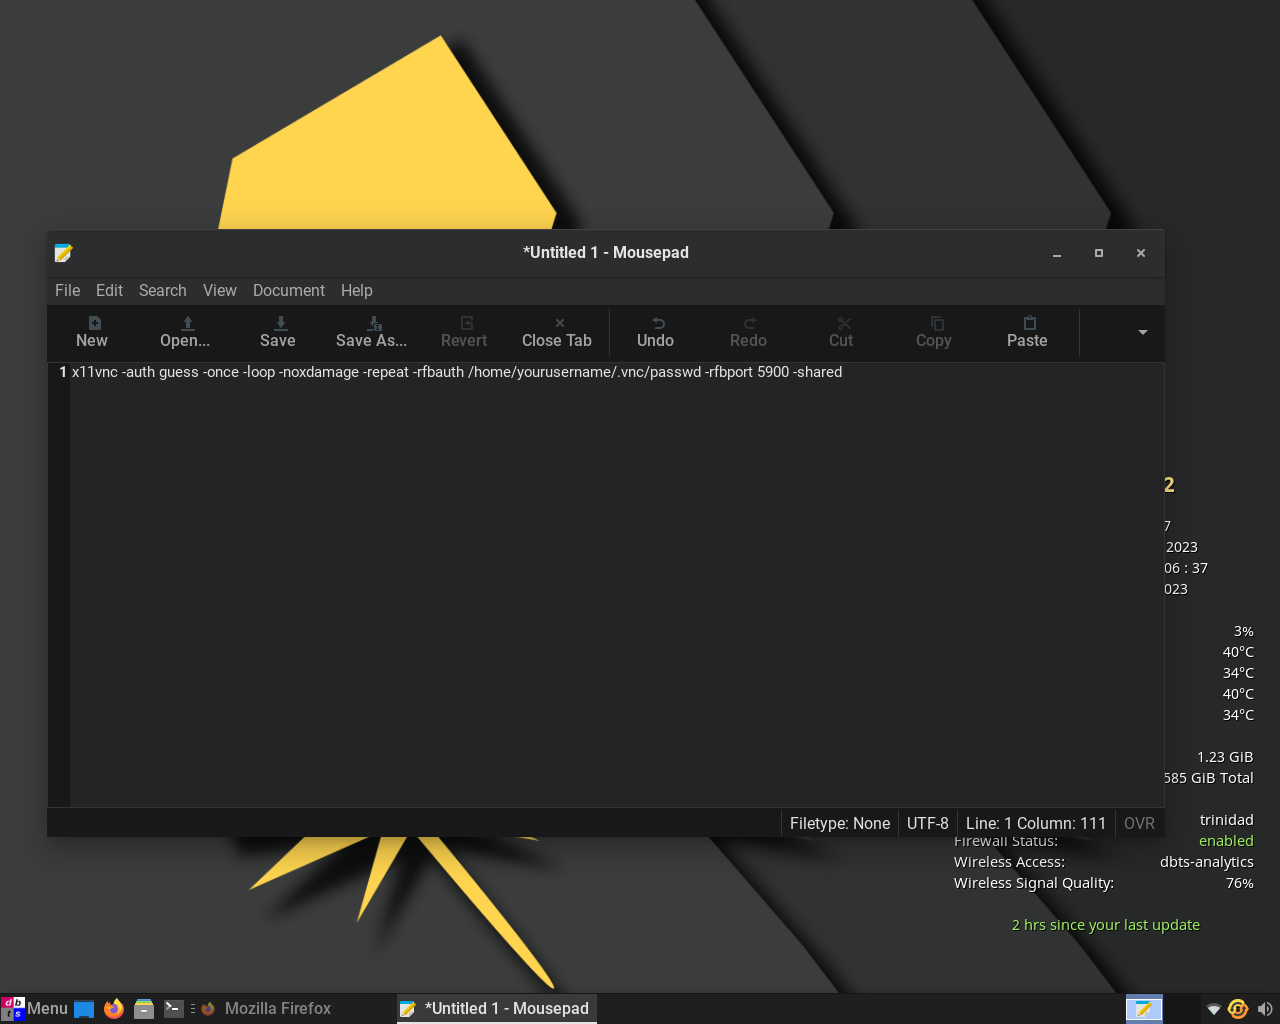
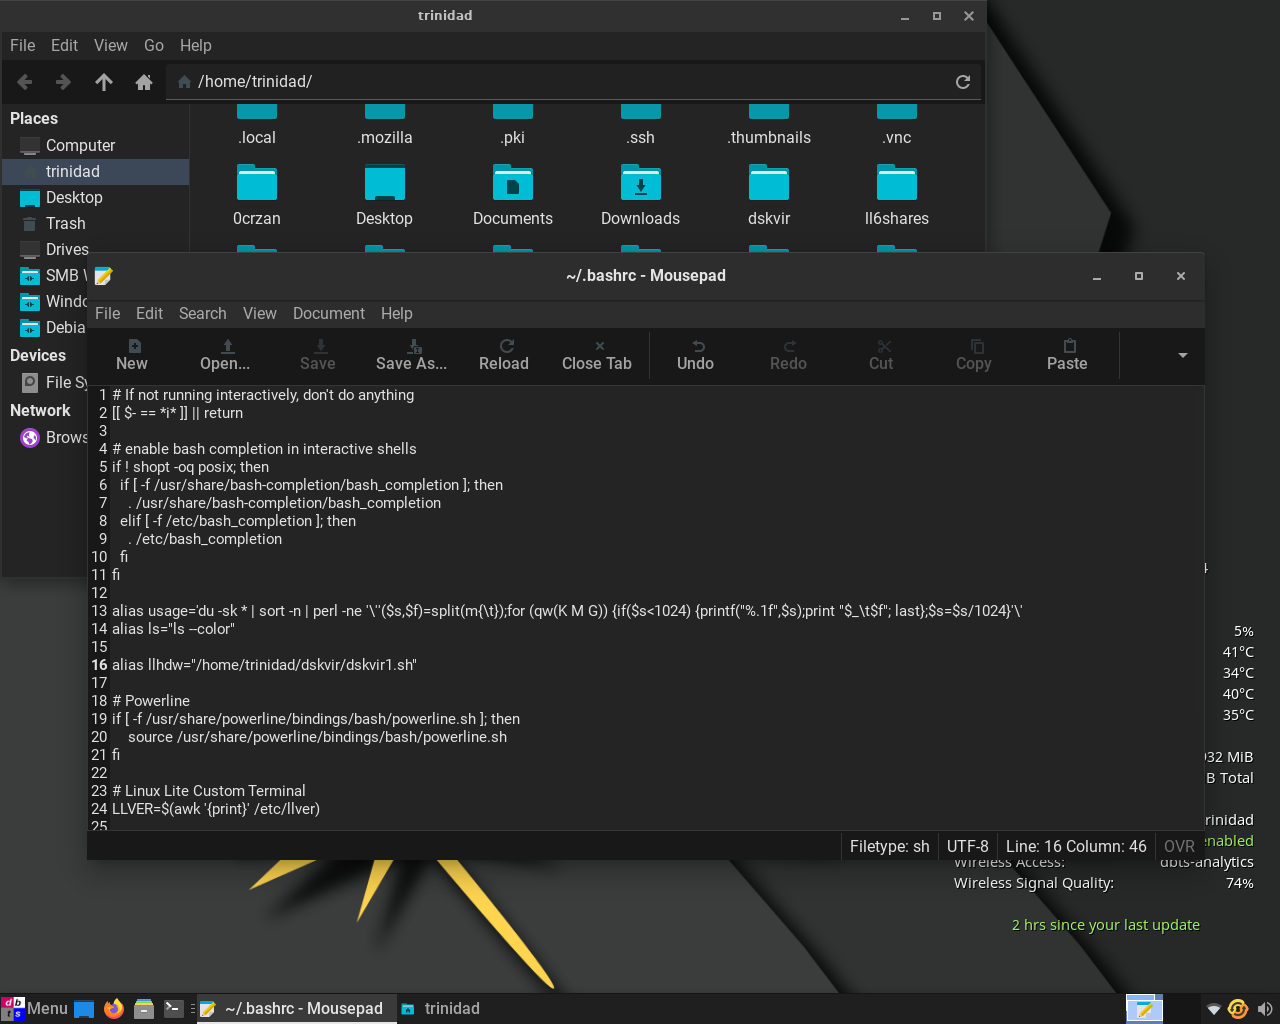
Next open up mousepad and enter the script: x11vnc -auth guess -once -loop -noxdamage -repeat -rfbauth /home/yourusername/.vnc/passwd -rfbport 5900 -shared substituting your real user name for yourusername in the script.
Save the file as a shell file (dskvir1.sh) in this case in the dskvir folder you created before. If the file does not show up as a script (shows the crunch bang icon) just make it executable from Thunar or chmod it. Adding the shell extension (.sh) when saving it usually automatically makes it executable in Ubuntu these days.

Next open up your .bashrc file in mousepad. Add the line in the syntax shown below alias llhdw=”/home/yourusername/dskvir/dskvir1.sh” with your appropriate file path and file names. Save the file and you will be able to start x11vnc from the terminal with llhdw or whatever you chose for an alias as a simple short command. I chose llhdw because this is my Linux Lite machine on hardware.
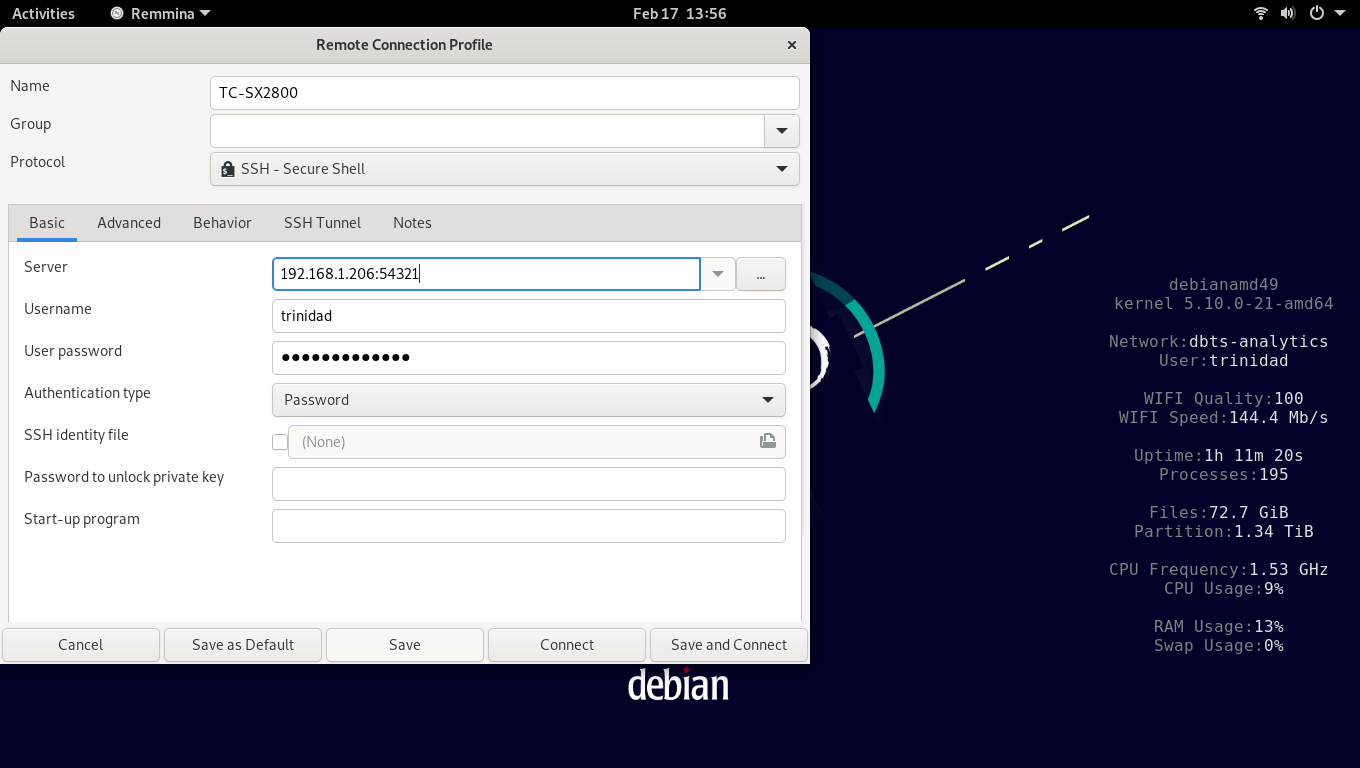
Next I open up Remmina on my Debian 11 desktop and add an SSH Secure Shell Protocol connection to my Linux Lite 6 machine using its IPv4 address and the port number of my SSH server running on it. I only use port 22 on my Windows machines which have different frontend and backend security. First time connection I use Username and User password and Authentication type Password to login. You can always do keys after the fact. Save the connection when complete. See image below.
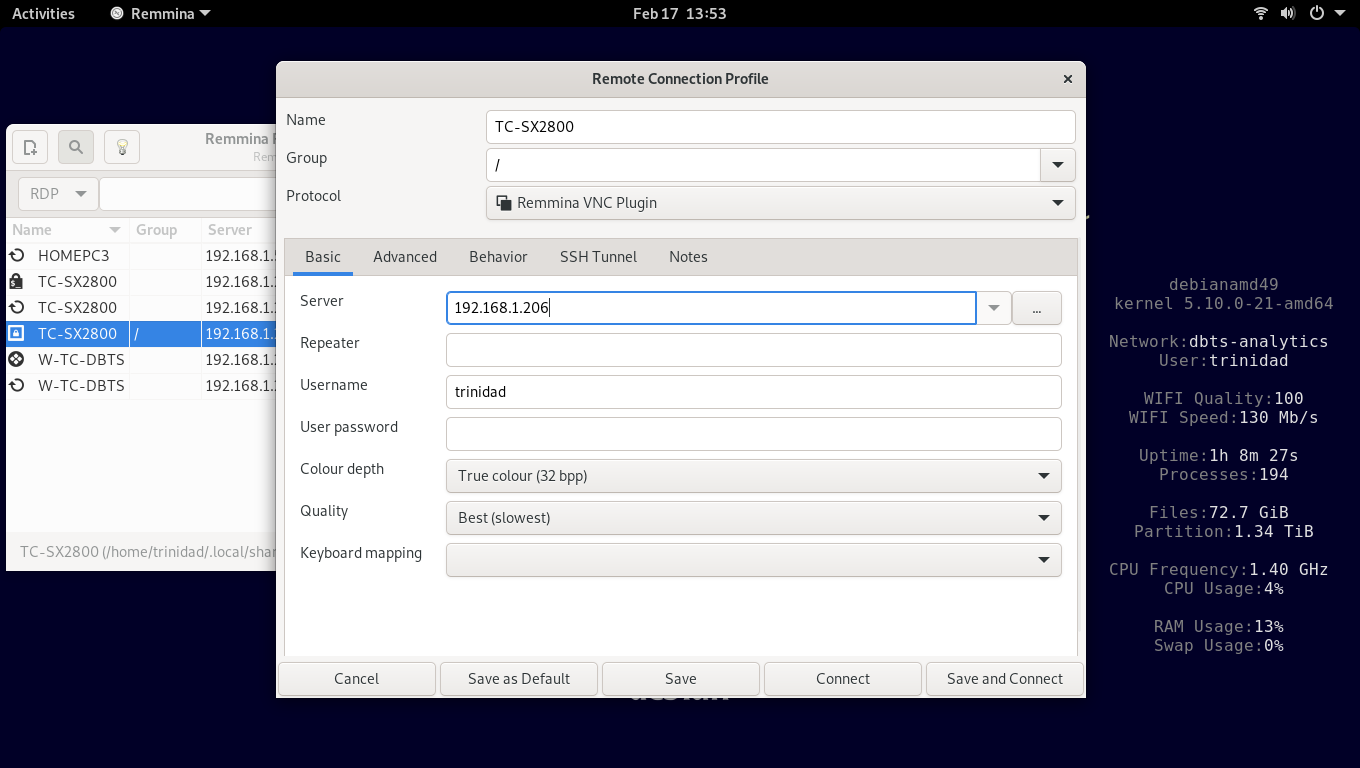
Next I open up Remmina and add a connection Protocol Remmina VNC Plugin. In the Basic tab I add IPv4 address of my SSH server running on Linux Lite with no port number. I enter my user name, Colour depth, and for Quality I choose best (slowest) as I have enough RAM and CPU to handle whatever.
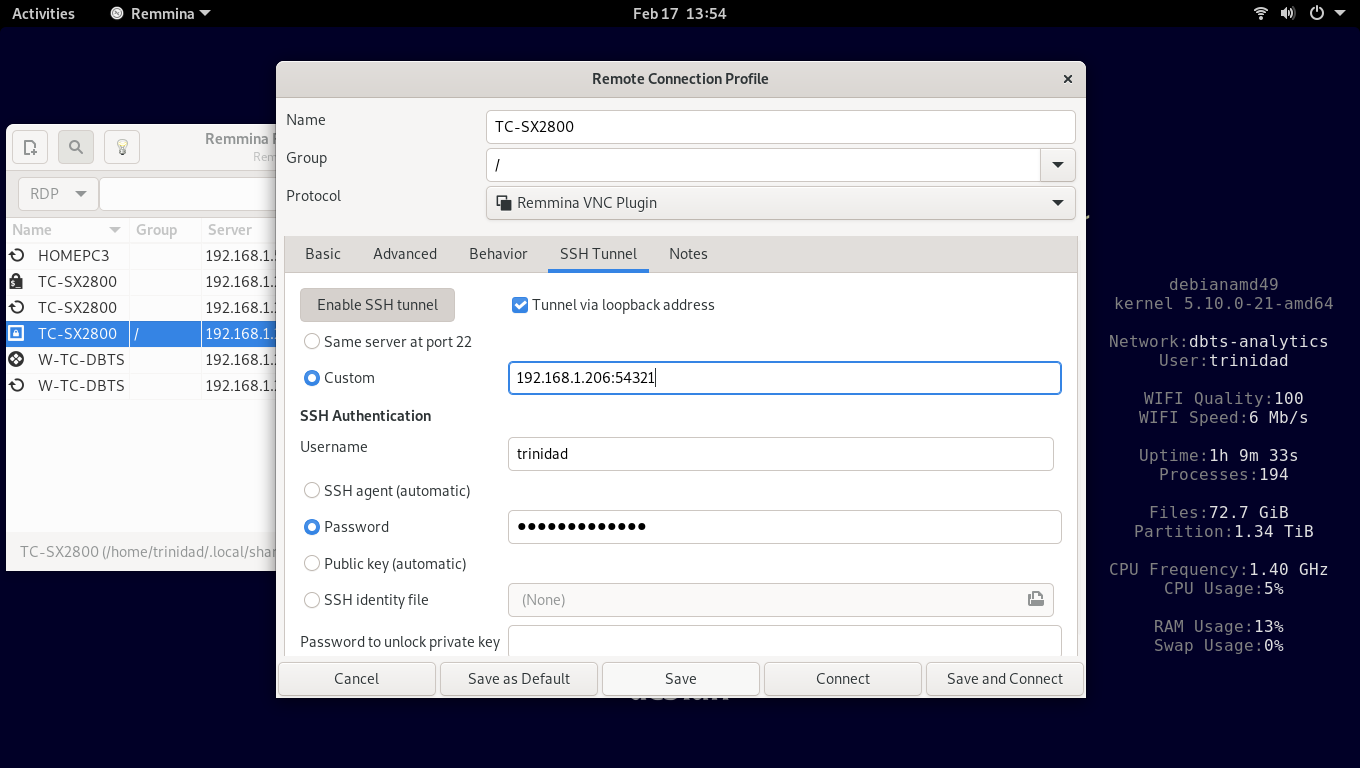
Next on the SSH Tunnel tab I click Enable SSH tunnel, check Tunnel via loopback address, check Custom and enter the IPv4 address and port number of my SSH server running on Linux Lite, add my Username and check Password and enter my SSH password. Save the connection when complete.
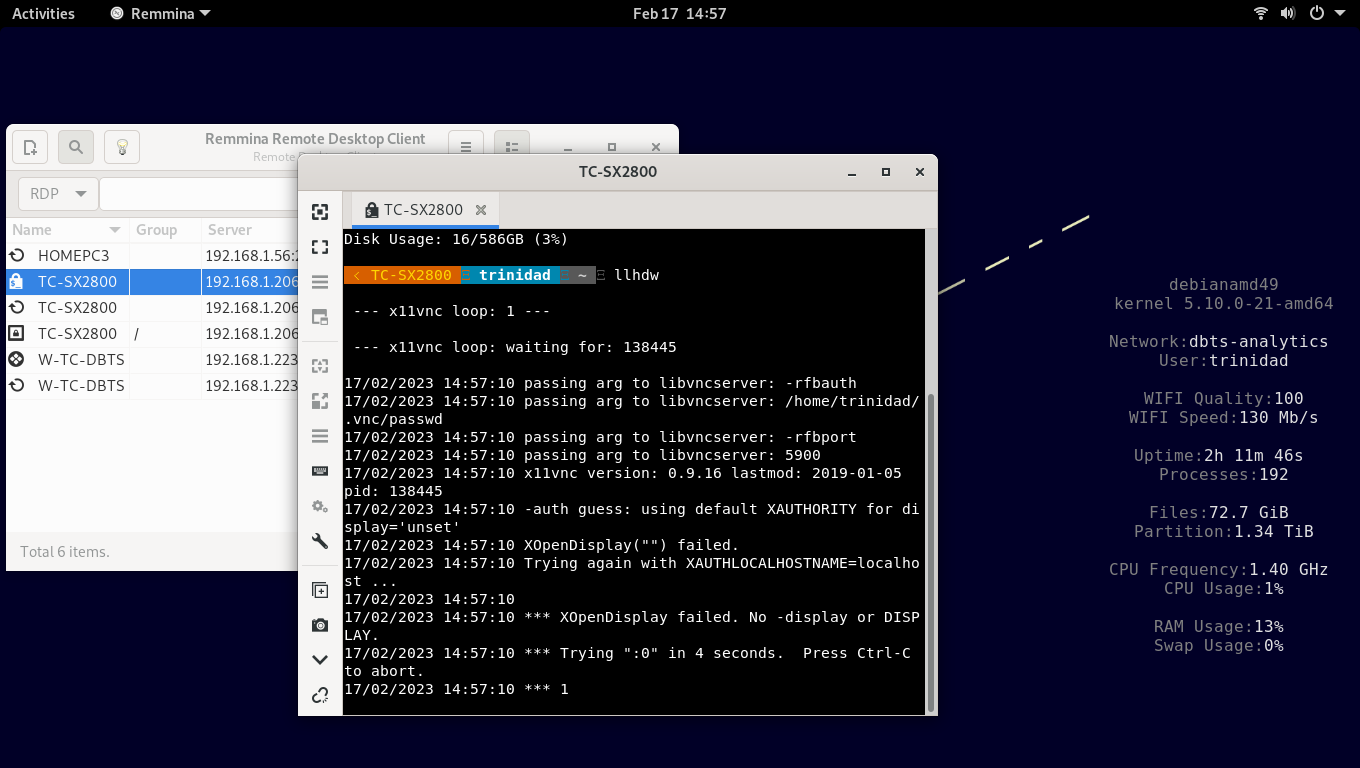
Now I connect to my SSH Secure Shell connection and at the Linux Lite prompt enter the alias to start the x11vnc server.
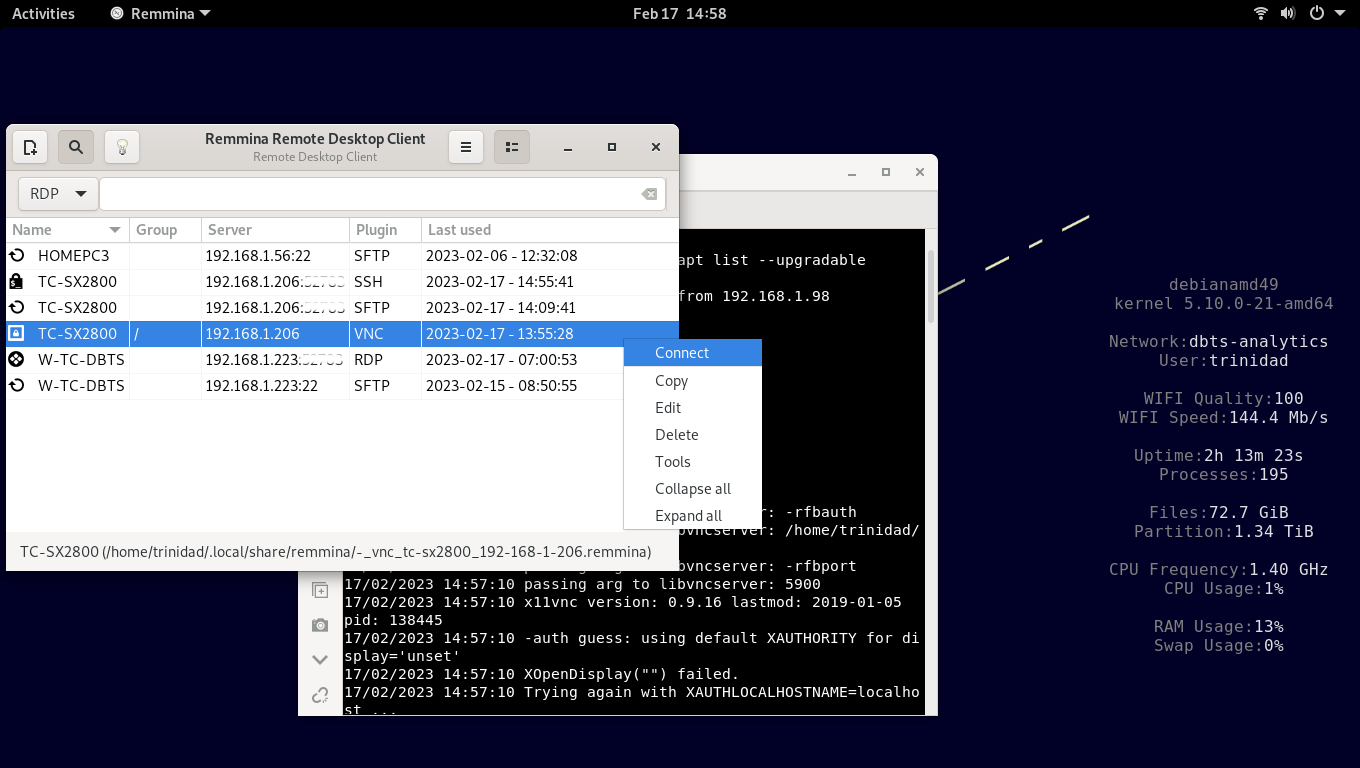
Leave the connection and terminal open and next connect to the VNC connection from Remmina.
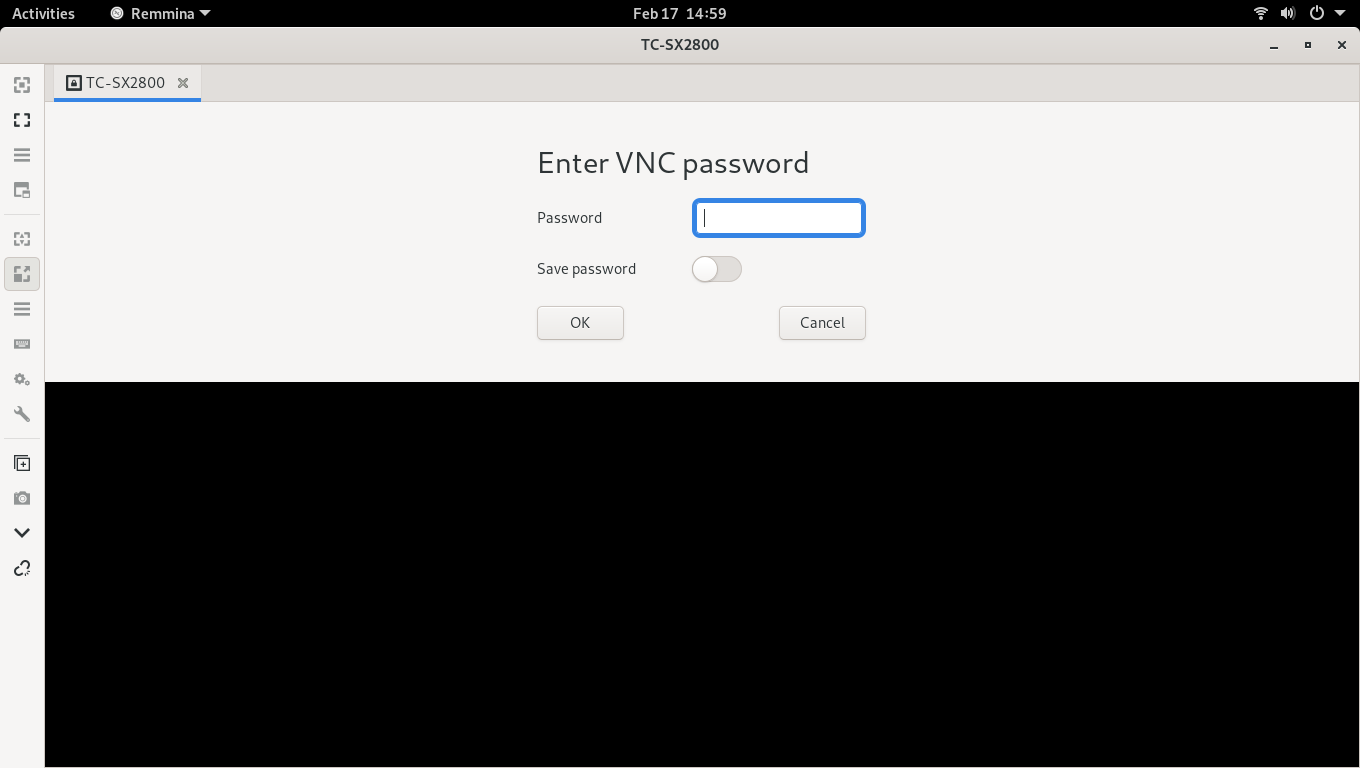
Enter my VNC password when prompted.
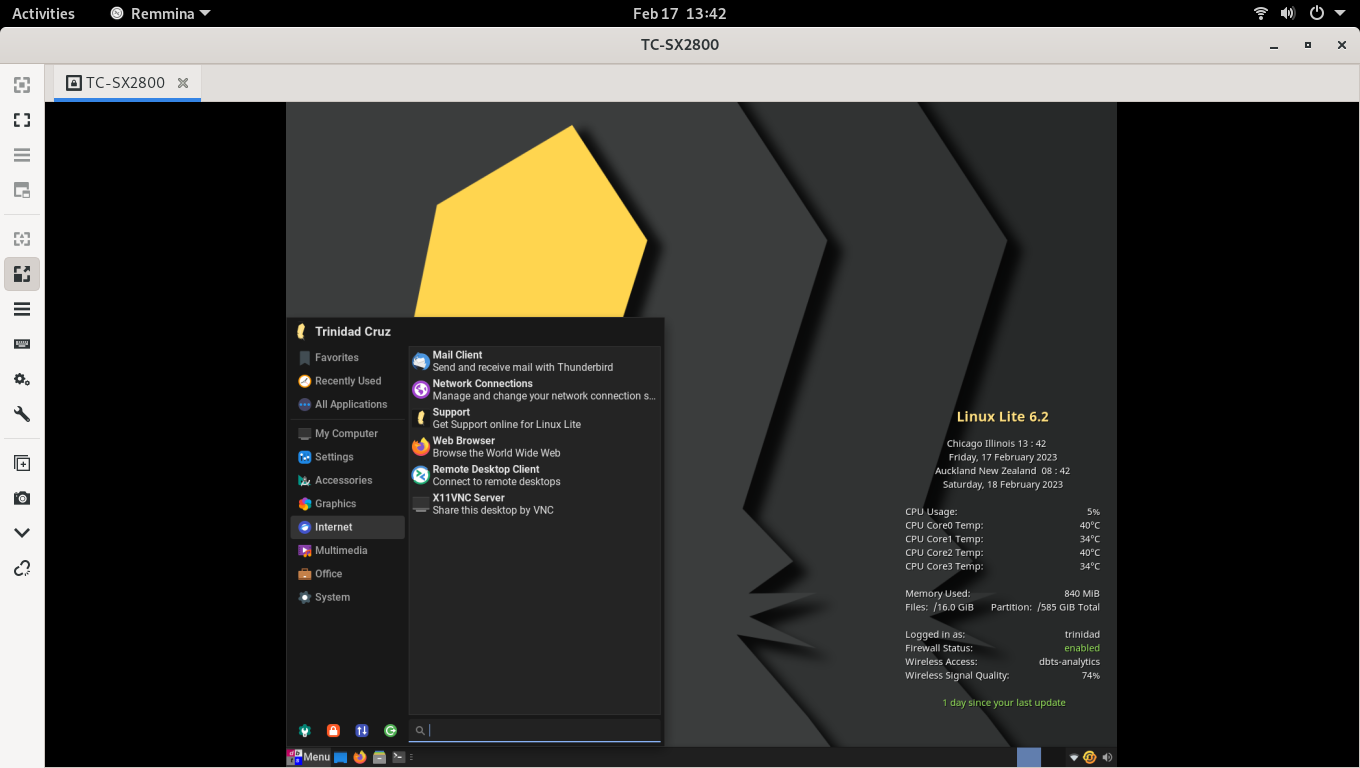
My Linux Lite 6 desktop appears running remotely on my Debian 11 desktop.
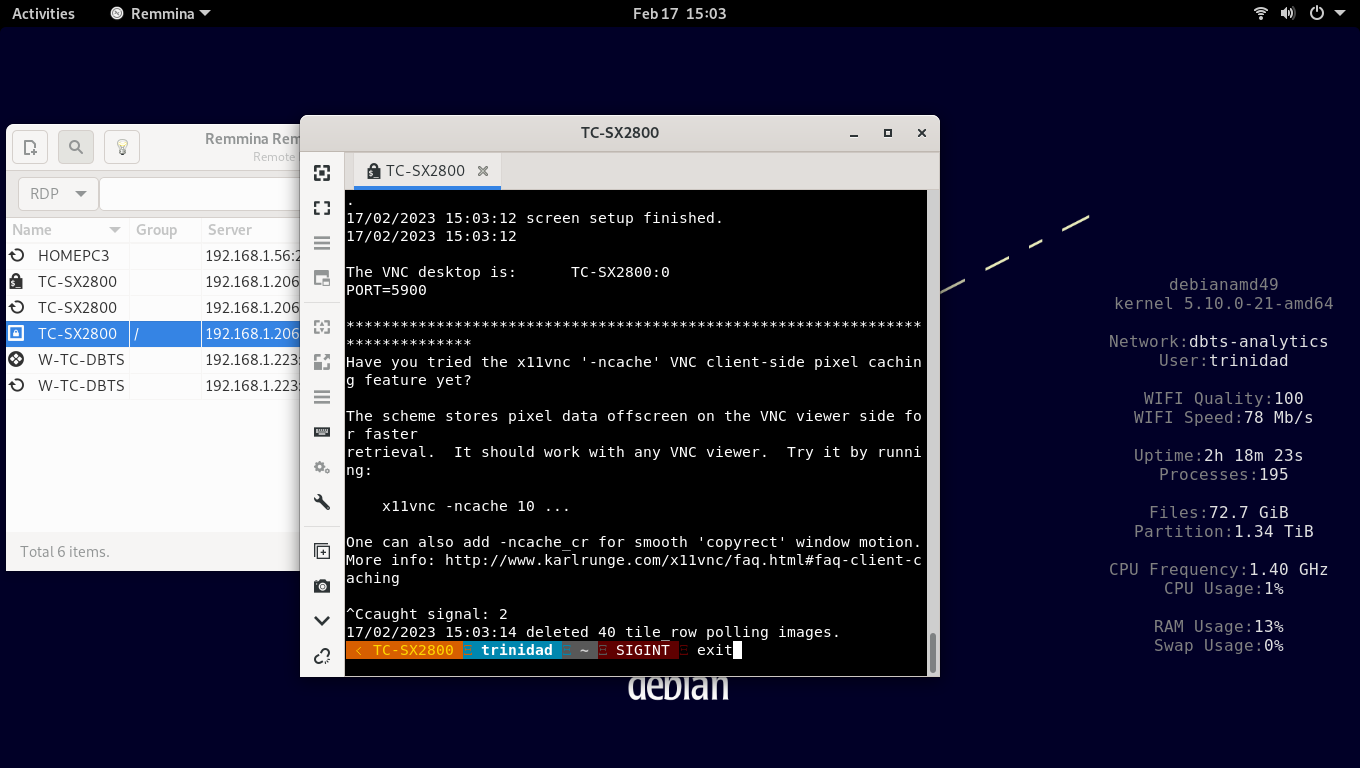
To disconnect just use the disconnect icon on the Remmina interface. See image below.

To shut down the x11vnc server and disconnect from the SSH connection just hit CTRL+C and the prompt will return shutting down the x11vnc server, then type exit at the prompt and hit Enter and the terminal will close and disconnect from the SSH server.