4) Setting Up Samba On Linux Lite 5/6 And Windows 10/11
You can follow the Linux Lite Help Manual for basic Samba setup on Linux Lite 5/6 from the link below. You may however run into a glitch or two with the Windows end of the connection. If you have a newer Windows machine do NOT install Samba version 1 to your Windows machine trying to get your shares to show up in the Network panel on your Windows machine. Linux Lite 6 already has the newest Ubuntu version of Samba and newer Windows machines use both Samba versions 2 and 3. Do NOT enable network discovery and/or file and printer sharing in the Public settings tab of Windows Advanced Sharing Settings in an attempt to find a solution for liteshare not showing up in your Network panel. Do turn on encryption and password protected sharing in the All Networks tab. The newest Windows machines will not save your connection to your liteshare folder in the Network Panel of File Explorer if the connection is on a private network, but rather in the dropdown menu of the Network address bar and/or a left arrow from the Network panel. In any case configure your Linux Lite connection first following the Linux Lite Help Manual. I will discuss my preferred method, one that always works on newer Windows machines as I go along here. Do not take this discussion as any endorsement by me of the Samba protocol as now that SSH server has a Microsoft official version for Windows it is much better to use an SFTP client like Remmina for file transfers between Windows and Linux.
Linux Lite Help Manual - Samba
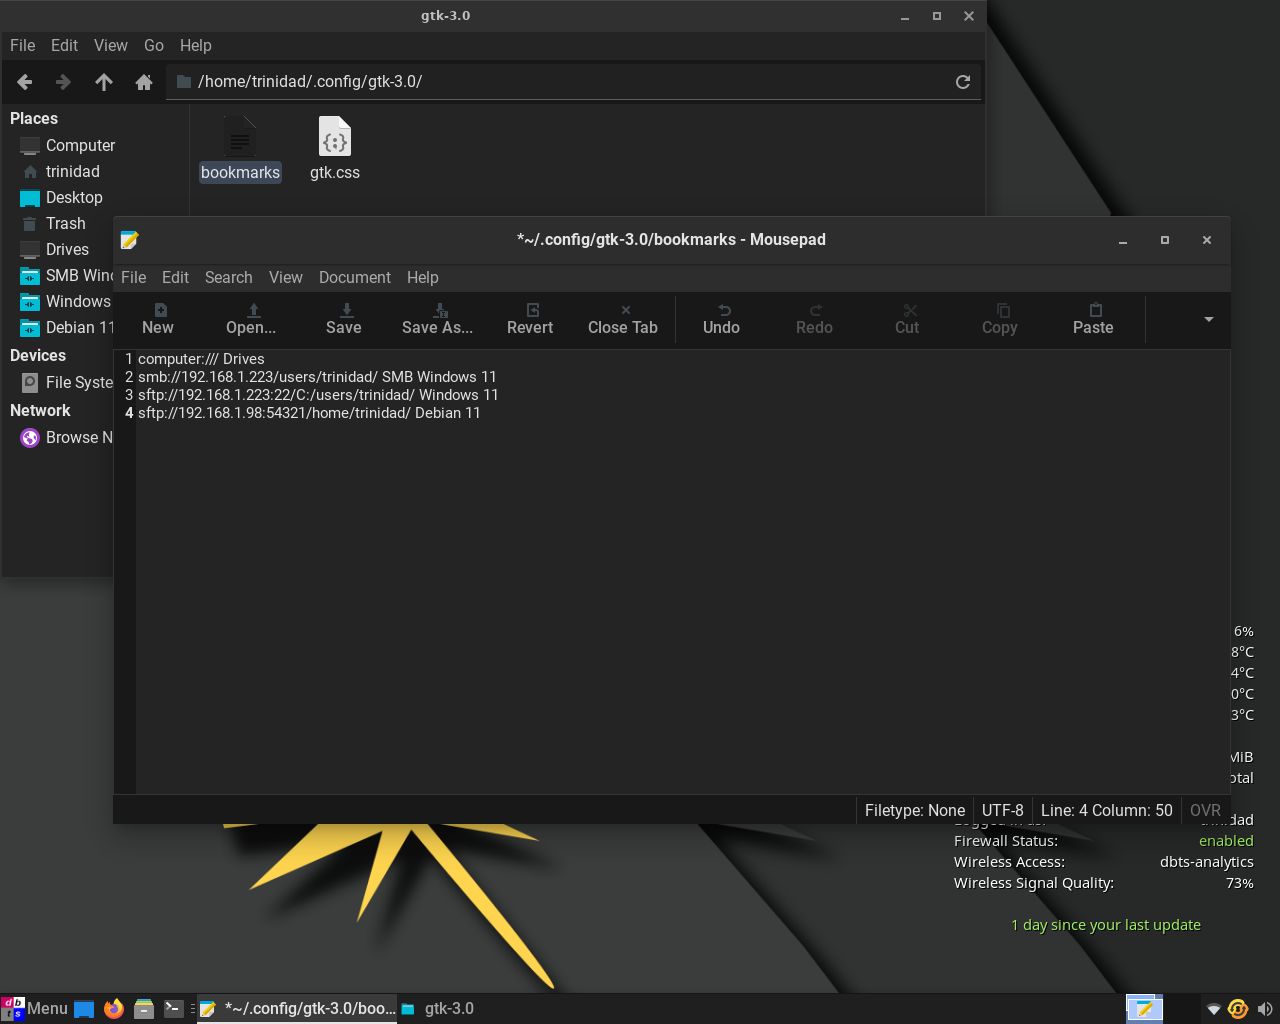
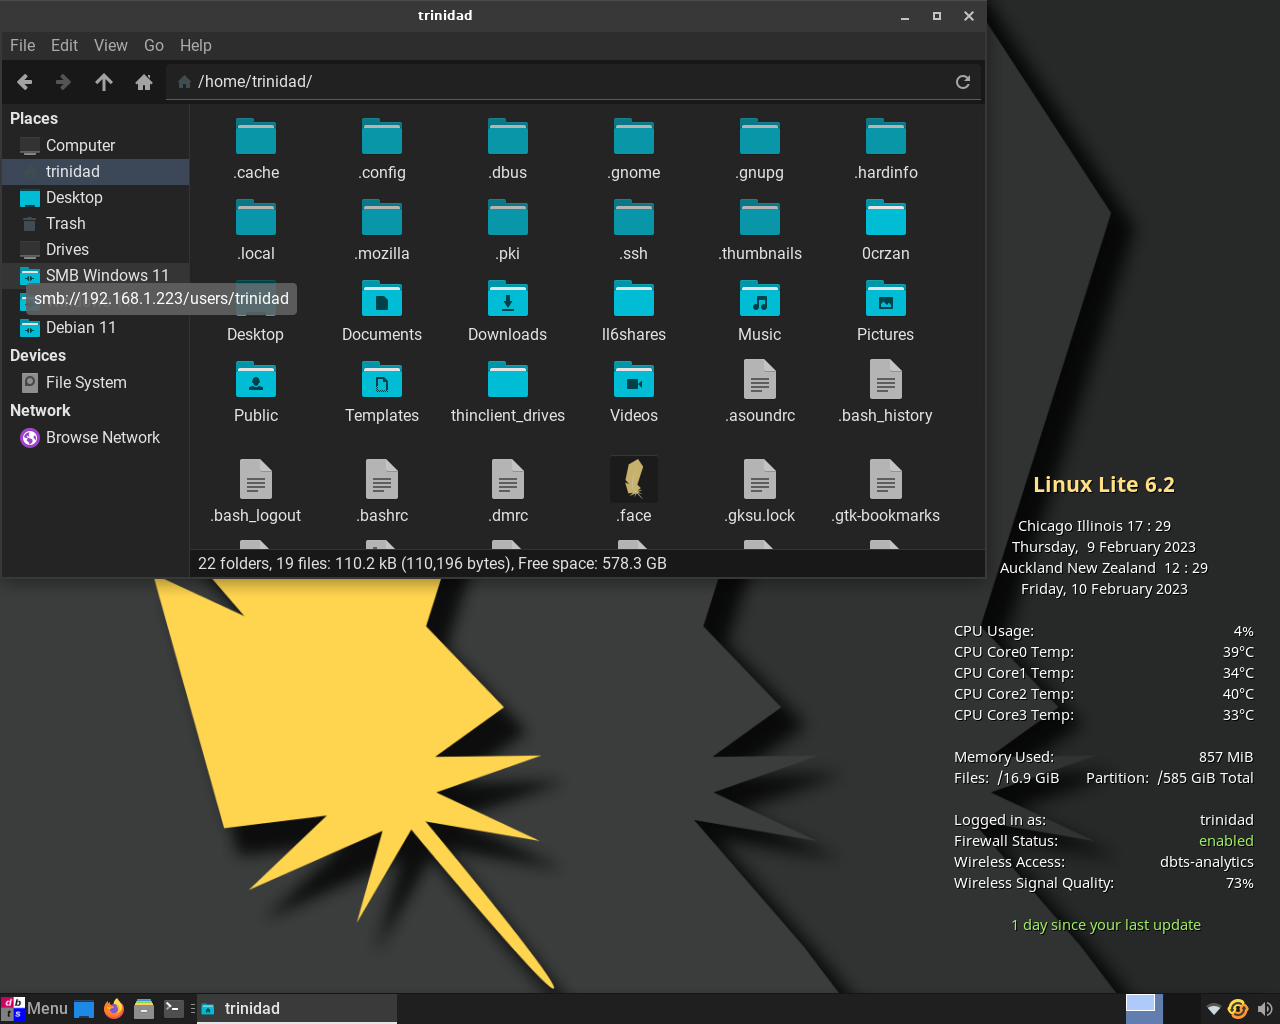
After finishing with the Linux Lite Help Manual method add a bookmark to Thunar for your Samba connection. Open up your /home/yourusername/.config/gtk-3.0/bookmarks file with mousepad and add the entry for your Samba connection as shown in the image smb://IPv4adressofwindows/users/yourusername/ (one space) name of the bookmark. Save the file and close mousepad. Clicking on it will now open in Thunar to roughly the same set of directories as your user in Windows opens in File Explorer.
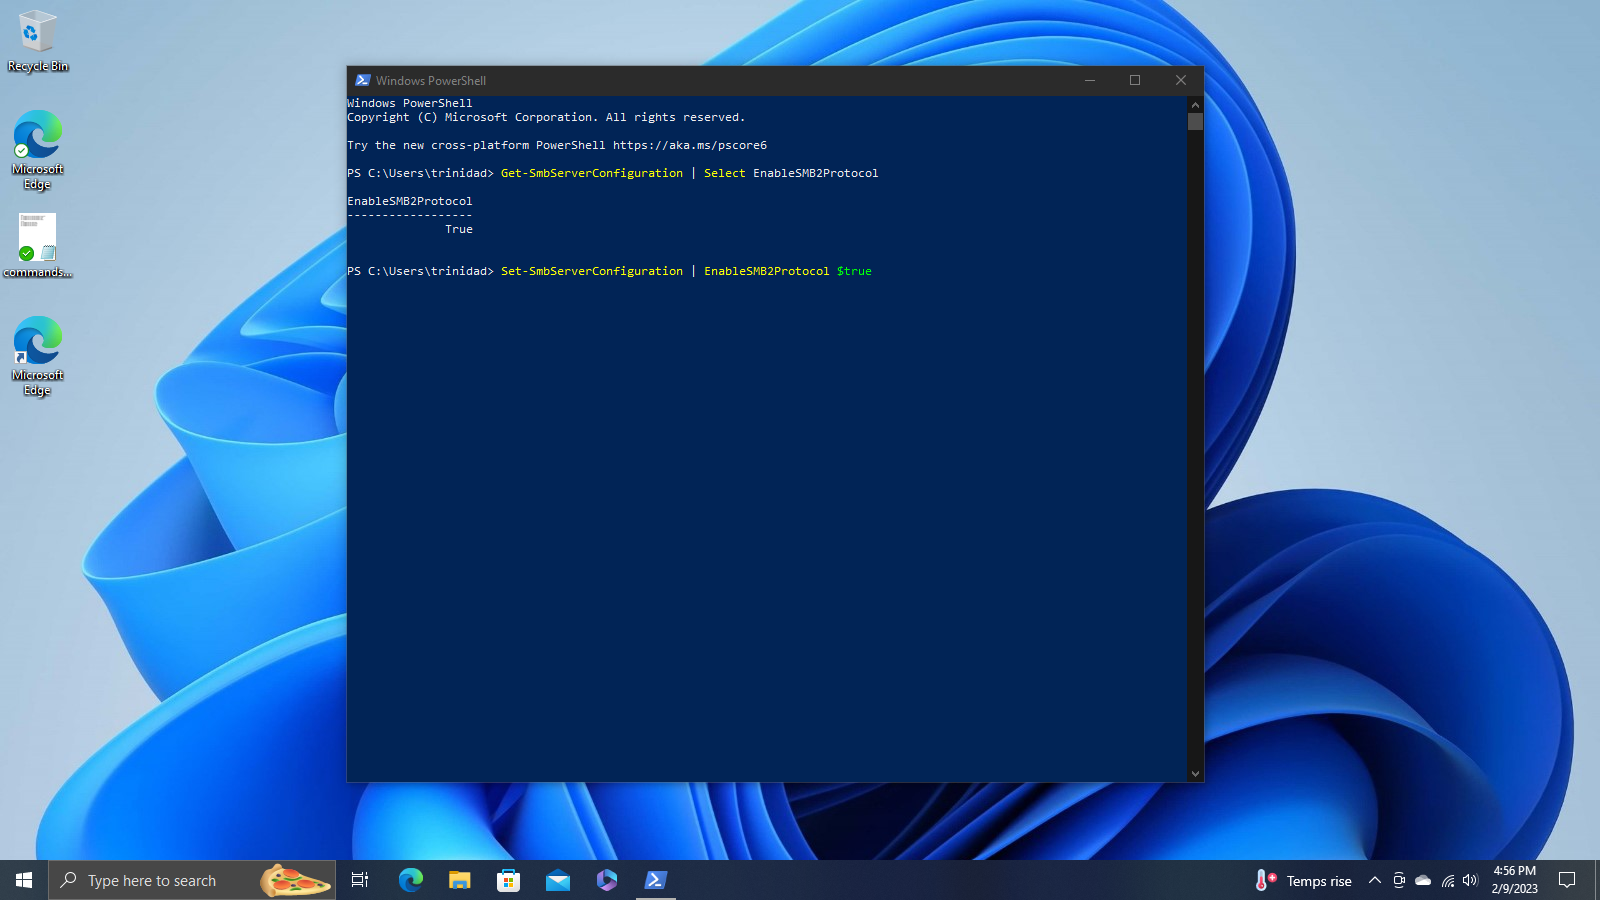
On your Windows computer open up PowerShell to enable and/or check to see if Samba is running. To see if Samba is running enter the commandlet below:
Get-SmbServerConfiguration | Select EnableSMB2Protocol
If the return is true Samba is running.

If the return is false or there is no return at all enter the commandlet below:
Set-SmbServerConfiguration | EnableSMB2Protocol $true
That should enable Samba version 2 and parts of version 3 on your Windows machine.
Go to your Network panel in File Explorer on your Windows machine. In the Network address bar type in the IPv4 address to your Linux Lite 6 machine.
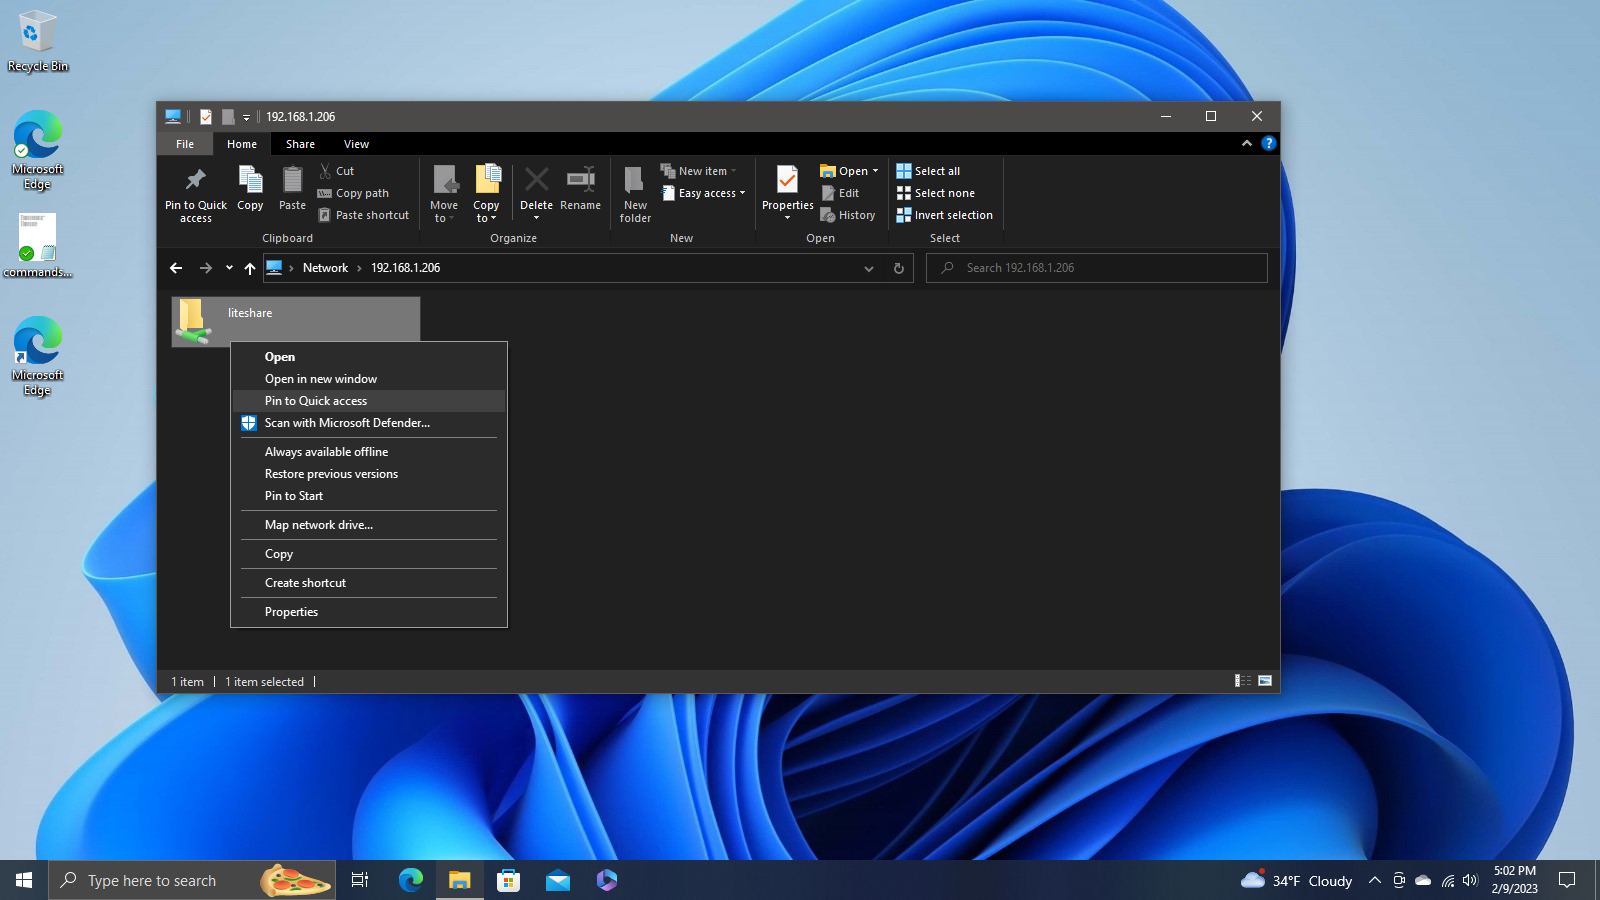
\\192.168.1.206 in my case as shown below. After your first connection the address will be available in the Network address bar’s dropdown menu as shown below.
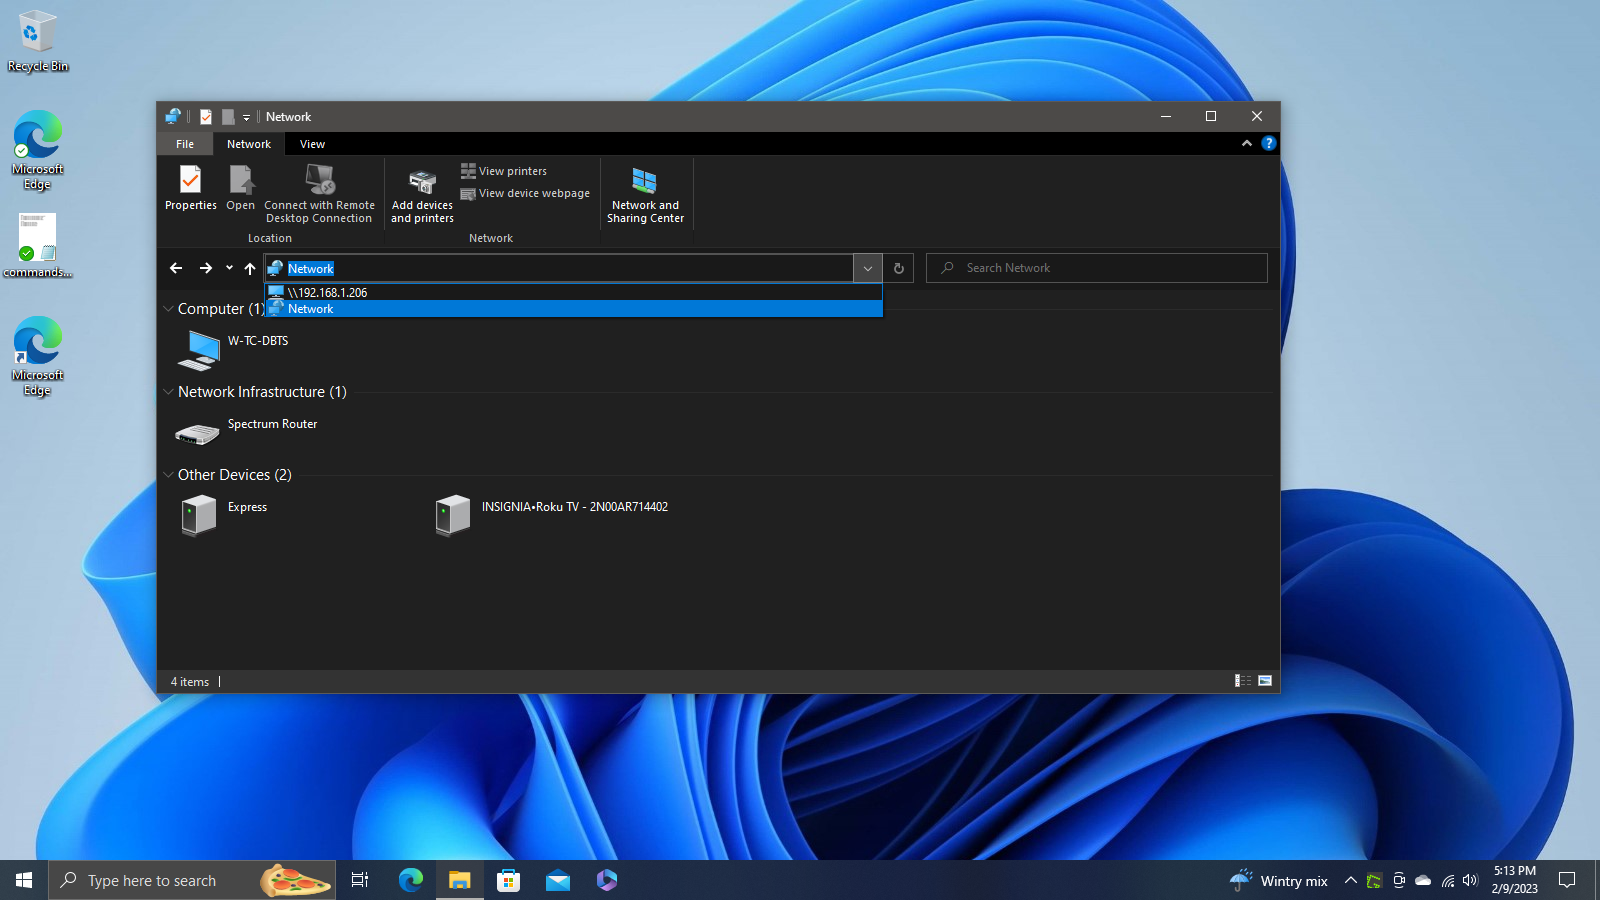
When your liteshare connection icon appears right click on it and select Pin to Quick access.
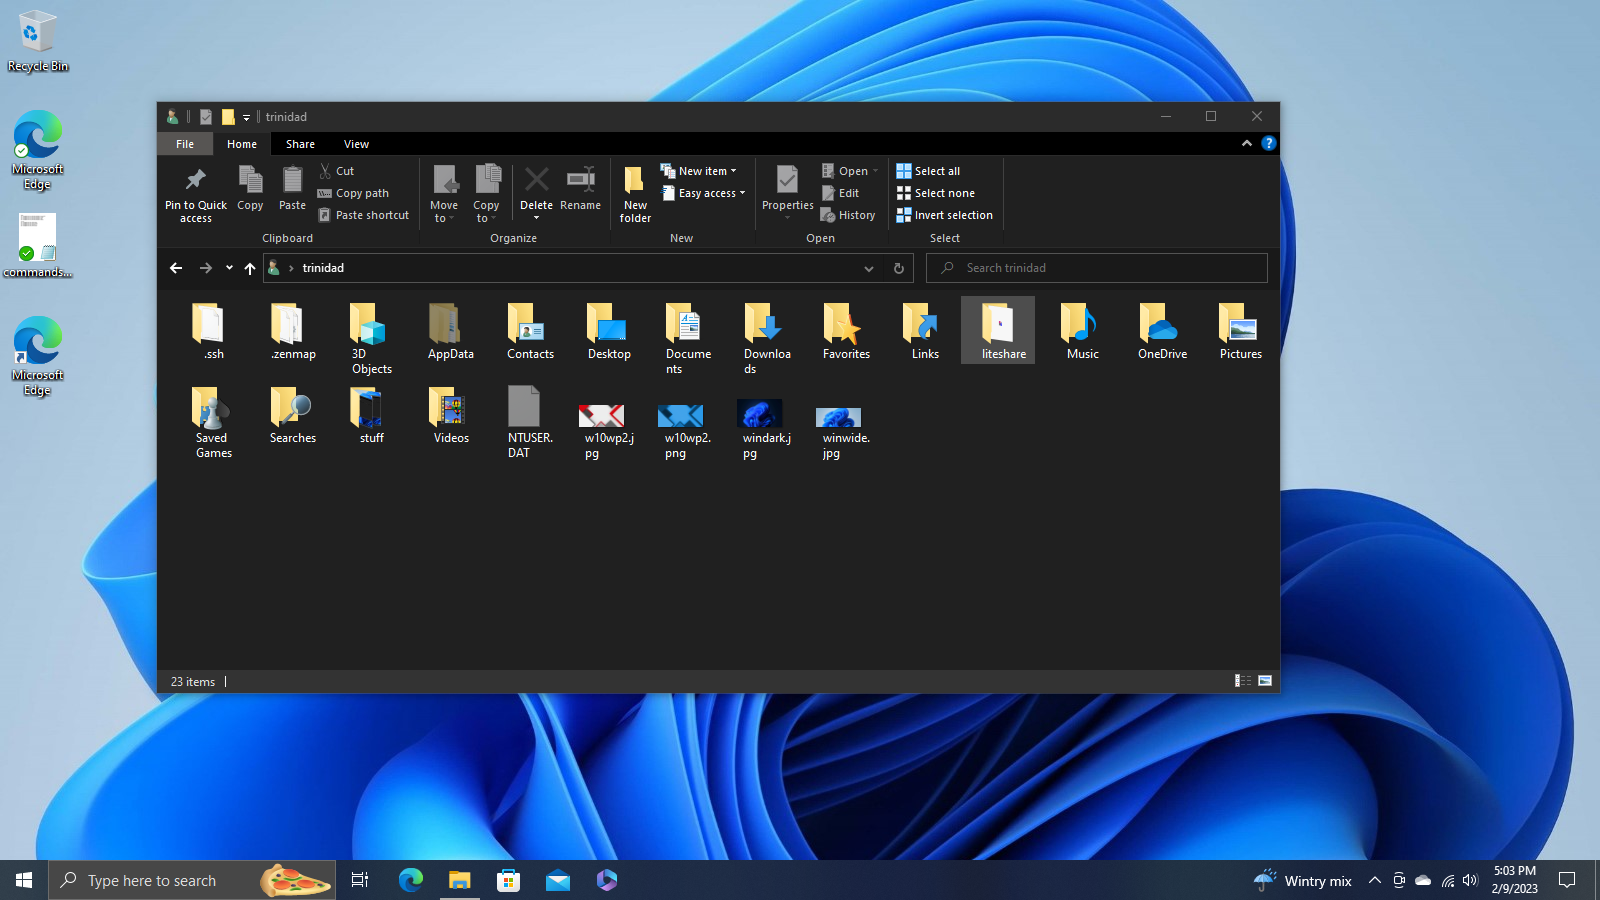
Now your liteshare connection folder will appear in your user name panel of File Explorer conveniently next to your user folders and files you may want to copy.
1) Installing And Setting Up XRDP On Linux Lite 5/6
2) Setting Up Windows 10/11 For XRDP
3) Setting Up RDP With Remmina Linux Lite 5/6